It’s winter, and now you can really notice the draft seeping in through the front door. Replacing worn or damaged weatherstripping will not only make your home more comfortable, but it will also help reduce energy consumption, meaning your furnace won’t have to work as hard. While tackling this task before the cold weather arrives can make the job easier, it can be accomplished during any season. The home inspection pros at HomePro Inspections provide the following tips and ideas to help make this project go as quickly and easily as possible!
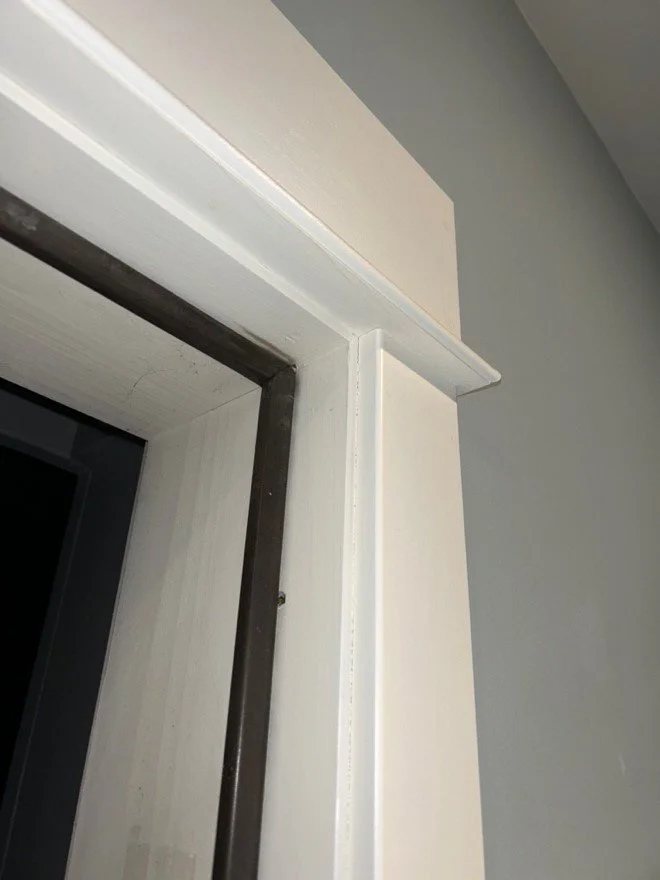
Exterior door weatherstripping
According to ENERGY STAR®, weatherstripping can save you up to 20% on your heating and cooling costs. Generally, someone with basic skills can manage most weatherstripping projects. It’s fairly straightforward, but you need to ensure that you are using the best products for the task at hand and installing them correctly.
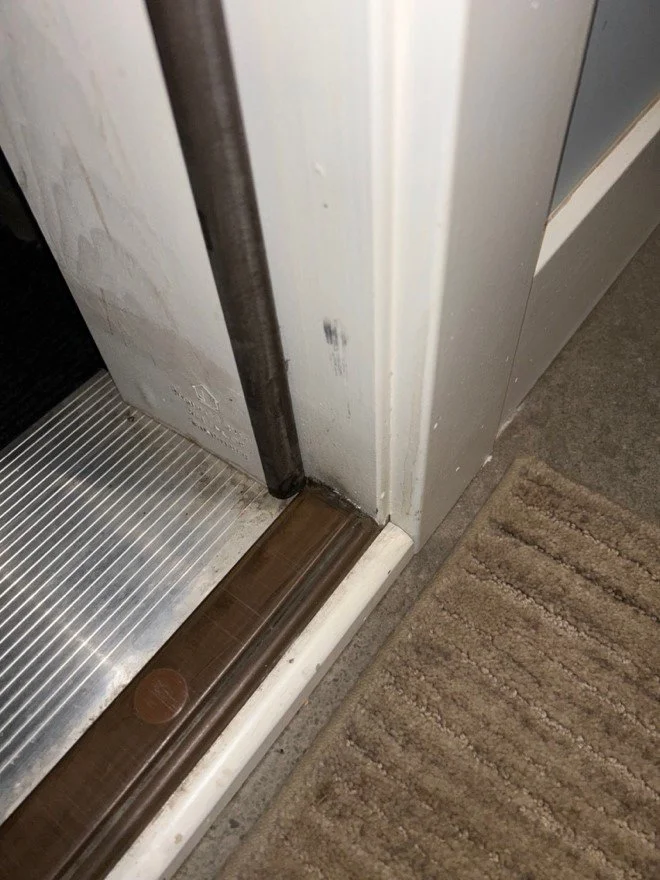
Exterior door weatherstripping and threshold
Assemble the tools and materials you need for the project.
· Tape measure
· Screwdrivers
· Scissors
· Cleaning supplies
· Replacement weatherstripping
· Replacement door sweep
Follow this easy step-by-step process to replace the weatherstripping.
· Clean and prepare the area.
Remove as much dirt and debris as possible. Clean the area using hot, soapy water. Apply sandpaper or stronger solvents to get rid of any residue that the hot, soapy water does not remove.
· Tighten the door hinges.
People often overlook their door hinges. Lift the door handle to check for any play or looseness. Tightening the hinges ensures that the door sits squarely in its frame and closes properly.

Door hinge
· Take measurements and determine the type of weatherstripping you need.
Measure both the width and height of your door opening to determine how much weatherstripping you will need. Many modern doors use similar products. Identify the required products and the quantity you'll need. Most big-box stores will have various options and kits for replacing the more popular and commonly used items. There are pros and cons to different types of weather stripping. Now is not the time to be cheap. Invest in the best product for your project.
· Remove the old weatherstripping and door sweep.
The weatherstripping and door sweep on most modern doors are typically installed by being pressed or inserted into a slot in the door frame or the door itself. Unless the old weatherstripping has been secured in place with paint, you can usually pull it out with little effort.
Door sweeps can occasionally be removed while the door is still in place. If this proves too challenging, it might be quicker to simply take the door off its hinges. You may need some extra assistance with this.
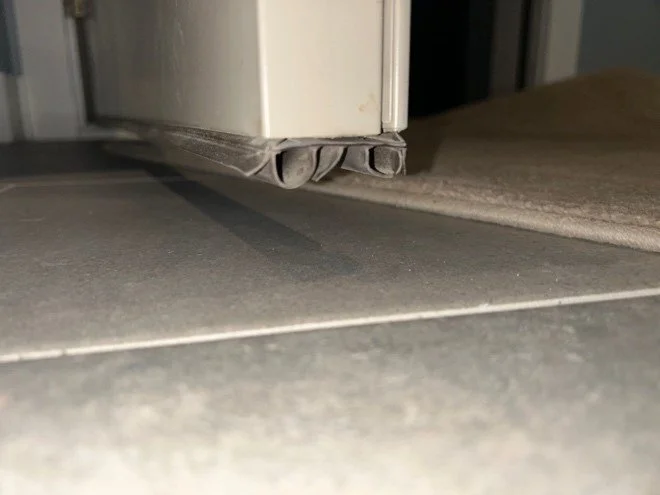
Door sweep at the bottom of the door
· Remeasure and cut the new weatherstripping to length.
The pre-cut replacement weatherstripping is usually slightly longer than the actual door opening. Remeasure and trim the weatherstripping to the correct length. Check the length and adjust if needed for the best fit. Slide the new weatherstripping into the designated slot in the frame. Double-check the length of the door sweep and trim as needed.
· Confirm the fit and that it functions correctly.
Open and close your door to ensure that the fit and function of your new weatherstripping are correct. Remember that the new weatherstripping may cause your door to open and close slightly harder. Over time, this will become easier as the weatherstripping settles in place.
Summary
Replacing the weatherstripping on your exterior door usually takes an hour and is inexpensive. This simple process is one of the most cost-effective methods to lower home heating costs. It also protects against rain, insects, and rodents entering your home.
At HomePro Inspections, our certified home inspectors are skilled in evaluating the weatherstripping and functionality of door seals and identifying any defects. Any issues found are documented in your home inspection report and recommended for resolution by a qualified professional.
Visit our website to learn more or to schedule your home inspection in the Rochester, Owatonna, and Faribault, MN, areas. You can also contact us today at (507) 202-8942, by email, or use our online “Schedule Now” feature to set up an appointment.